Last December, I announced to I’m sure at least ten thousand well-deserved eye rolls that after 10 years of food blogging and one (now two!) cookbook I had finally learned how to make coffee. I mean, yeah, it was melodramatic. I, too, can scoop whatever the Maxwell House can says into the filter and press the on button, as I did most weekend mornings as a kid. What I meant was that I had figured out how to make the coffee I most liked to drink and spent too much money on at coffee shops these days, and I had found this delight with the simplest old-fashioned thing, a stovetop espresso maker.
I then promised you a tutorial. It’s been 6 months. I got nervous. It would be a little weird if I were suddenly an expert on something I’d been doing for 7 weeks. I thought I needed more time with it. In these 6 months, I’ve become one of those people who previously baffled me because they said they didn’t like to buy coffee out; they liked theirs at home better. But here we are.
A few nuts and bolts:
- This is not intended as a conversation about why one type of coffee-making apparatus is best. It does not matter; it only matters what works for you. For me: petite, hands-off, no electrical cords, no counter space required, no filters I have to keep in stock, and really really hard to mess up. I use a Bialetti Moka Express 6-cup but most of the other brands of stovetop espresso makers are very similarly constructed. It also comes in 1, which I imagine is cute as a button, 3, 9, and 12-cup sizes.
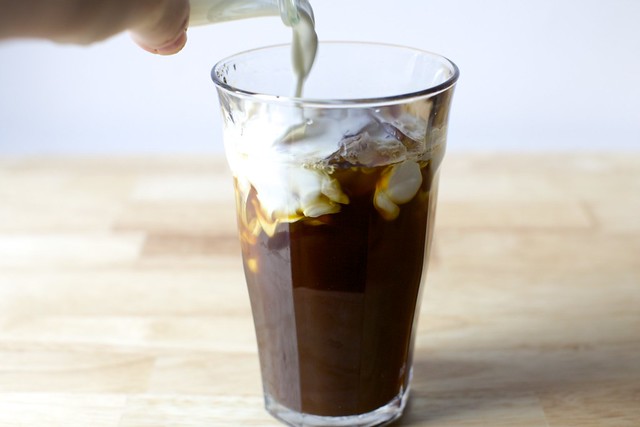
- This 6-cup stovetop espresso maker can be used to make 6 single shots of espresso, but most mornings I use it to make two hot or iced Americanos. Americanos are American-style coffee (bigger cup, less strong) made with an espresso machine by adding hot water. The strength is similar to a drip cup but the flavor has the richness of espresso. How much water to espresso? Nobody agrees. For hot, I like a little less water than espresso. For cold, I add no water — the cup of ice provides just the right amount. (I’ll show you how in a minute.)
- Do not put your stovetop espresso maker in the dishwasher; it will ruin it. Don’t wash it with soap. I scrub mine lightly with a soft brush (easier to get in all the corners) under very hot water, removing any debris, let it dry before reassembling it, and that’s it. You can replace the rubber gasket or metal filter if you want, I have a couple spares, but I also know people have theirs for a decade without doing so. My manufacturer’s instructions also suggest you check the washer on the valve from time to time for wear.
- It’s almost impossible to talk about a stovetop espresso maker without hearing a story about one that exploded, a terrifying thought. From what I understand, just keep the valve (this little nut/screw on the side of the water compartment) clear and you’ll be fine. It’s there to release steam so you probably don’t want to keep it from doing that.
- I am sure there are a gazillion other more beloved espressos and less expensive out there, but just for reference I use this one. I opened the can, took a huff, and was immediately transported to long-ago trips to Italy, pre-husband, pre-kids, pre-life full of responsibilities and daily adulting, involuntarily yelled “Take all of my money!” and bought a case. I regret nothing. My pot’s instructions say, not terribly helpfully, “Use coffee ground specifically for a Moka coffee maker. Do not use too fine ground coffee.” What it means is that espresso powder ground for stovetop espresso makers have a slightly more coarse grind than espresso used in coffee shop-style machines. How do you know your coffee is too finely ground? It shows up in your mug and annoys you. [Aren’t you guys glad you have me here to bestow such high-level expertise? Wait, don’t answer that…]
I realize this might possibly take as long to read as it does to brew your coffee, but I found almost every tutorial, video, and set of instructions online confusing because they wanted me to do things that just weren’t working for me. So, I hope the below covers both paths: the advice from pros but also what works for this coffee amateur.
- Water to fill pot without going over valve (about 1 1/2 cups)
- About 5 tablespoons ground espresso powder
Pour in water: Fill the lower chamber of your pot with cold water until it reaches just below the valve. I go to the bottom edge of it; my pot holds 1 1/2 cups. Some coffee aficionados say the secret to great stovetop espresso is starting with hot water. I did it a few times; it did not change my coffee life, but who knows, it might change yours. They’ll also tell you that you cannot make half-pots but I do it almost every day. I simply pour in a measured 3/4 cup instead.
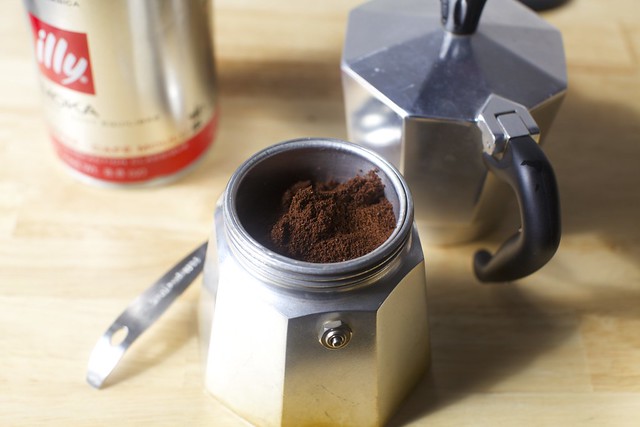
Add coffee: Fill the funnel — this is the part with the perforated inside — and with ground espresso. Do not tamp it down, as it makes it harder for the coffee to brew, but you can tap the outside of the funnel to compress it slightly. I find it takes just shy of 5 tablespoons or 14/15 grams of the espresso I use to fill it. Making only one Americano? Use 2 1/2 tablespoons espresso or 7/8 grams. Sweep any excess espresso powder off the rim.
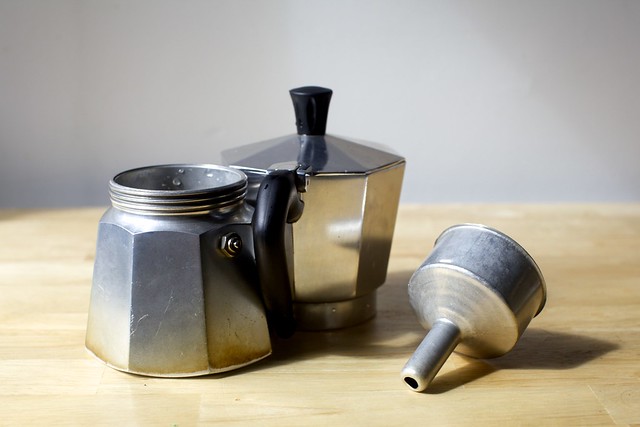
Assemble the pot: Make sure the flat filter disc and rubber gasket are in place, then tightly screw the upper part of the pot onto the base. I do not go crazy muscling it shut. I just twist it snugly.
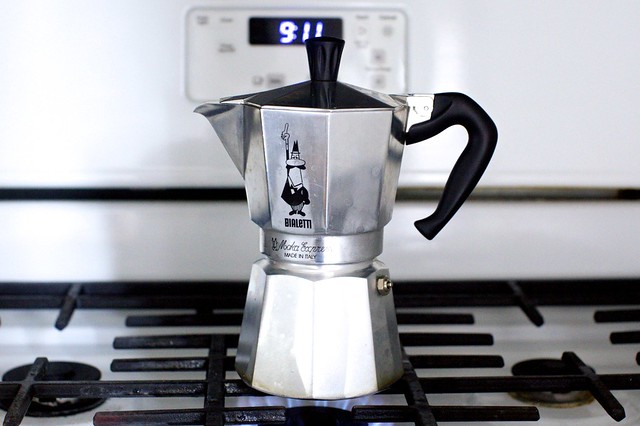
Brew: Put it over your smallest burner. For gas stovetops, make sure the flame is not larger than bottom of pot; the flame should not come around the sides of the pot. I assumed that the handle was heat safe because it’s a stovetop espresso maker and gas stoves have been around forever… I was wrong. Mine is a bit mottled these days as a result. Medium heat seems about right but if your coffee tastes burnt to you, try a lower heat next time.
Heat until the water boils and coffee begins to come out of the center post. There will be a gurgling sound during this process. At this point, almost every demo I have watched says you can turn the flame off because it will continue to brew and too much “toasting” is at odds with the rich flavor you’re hoping to get from your coffee, however mine basically stops brewing when I do, leading to an inch, not two cups, of coffee in the pot, so I just turn the heat down. Some people insist upon brewing with the lid open, others leave it closed, and although it’s not supposed to make a difference in the final flavor either way, I leave mine closed or it sputters out all over the stove.
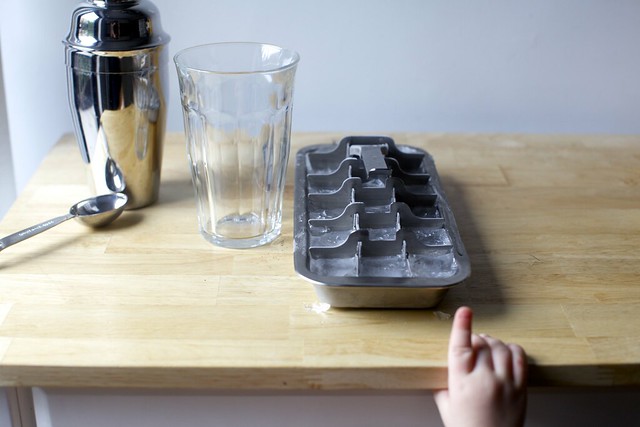
Meanwhile, ready your mugs/glasses: While you’re waiting (this takes 3 to 5 minutes to brew), get your cup ready. For two iced Americanos, fill two pint (16-ounce) glasses to the top with ice. Maybe you live with a toddler who is obsessed with ice and comes running every time you crack the tray? Be sure to leave some leftover for her, or suffer the auditory consequences. For two hot Americanos, pour 1/2 to 3/4 cup boiling water in each of 2 mugs. You’ll figure out your preferred level soon enough, but if this is your first time, begin with the lower amount. If you’re making one hot Americano, might you just use the full 1 1/2 cups of water (i.e. twice the water) and 2 1/2 tablespoons espresso (i.e. the amount for one Americano) instead of adding hot water at the end? Yes, and I do this too.
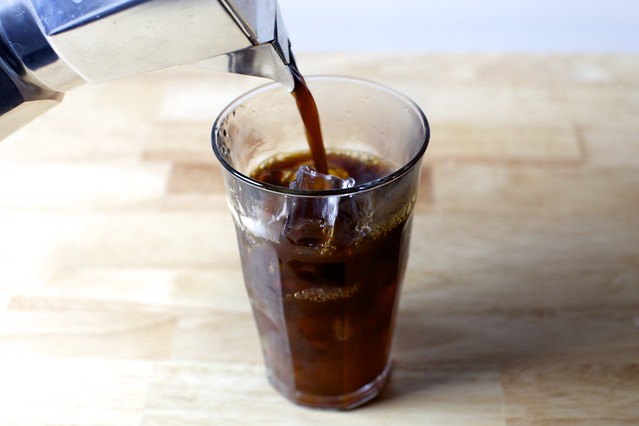
Finish and pour: When the top of the pot is full of coffee — you’ll hear a change in sound, or my pot’s instructions says “hazel brown foam appears just seconds before the coffee is completely done” but I’ve never noticed this — remove it from stove and immediately pour between two prepared cups. My pot’s instructions also say to give it a stir before pouring because the first stuff that comes out is more concentrated, but I just do a little pour at a time in each cup, switching between them, to ensure neither loses out if the first and second halves have different intensities.
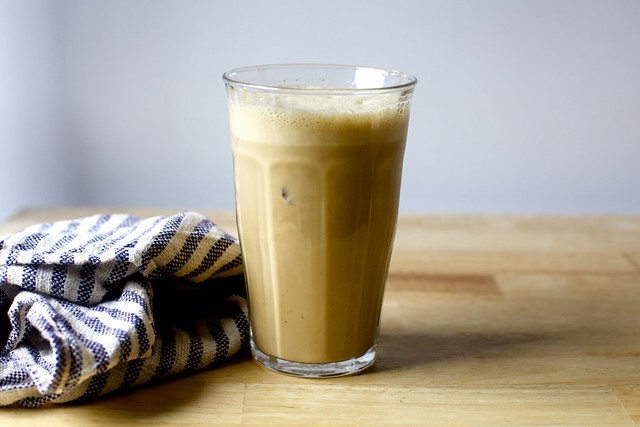
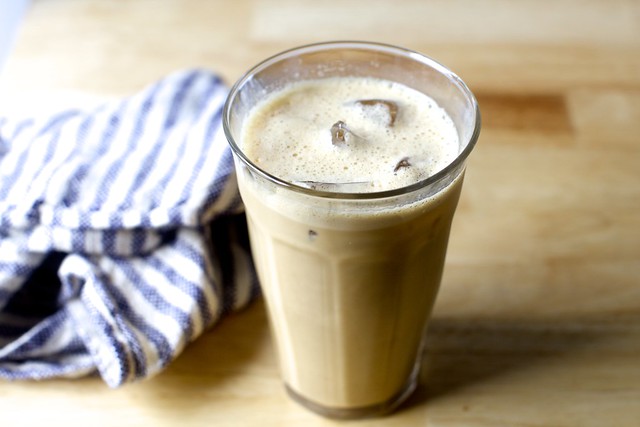
Frappé it! If your other long-lost coffee memories, like mine, reside in the frappés in Greece, I then dump our iced cups into a cocktail shaker and shake some foam into it. This is a weekend thing. Weekends are lazier. Weekends are the best.
more recipes @ https://smittenkitchen.com
